Internet of Things, The Tiny House Webcam
We live in a time where the average person can purchase kits and sensors to build all sorts of gadgets known as the Internet of Things (IoT). A webcam is no different as it provides communication, collaboration, and security.
Part of the overall goal for this tiny house is to create a smart tiny house with modern ideas and concepts focusing on simple, green, and efficient living. Although some would argue that it’s the opposite of simplifying one’s life, digital feedback is a great way to improve and optimize.
This is the second IoT in the tiny house. The first one, the neurio, tracks electricity. The webcam is the eyes of the tiny house and the first component of the security system. Not only does it show what’s happening in the tiny house, it can send alerts and record video when motion is detected.
Webcam Hardware Components
Technology is getting smaller and a webcam is no exception. The Raspberry Pi Zero W is about the size of a credit card, very affordable, and extremely versatile. There are several webcams that are compatible with credit card size computers. In this case, I chose the Raspberry Pi Camera Module V2 – 8 Megapixel, 1080p.
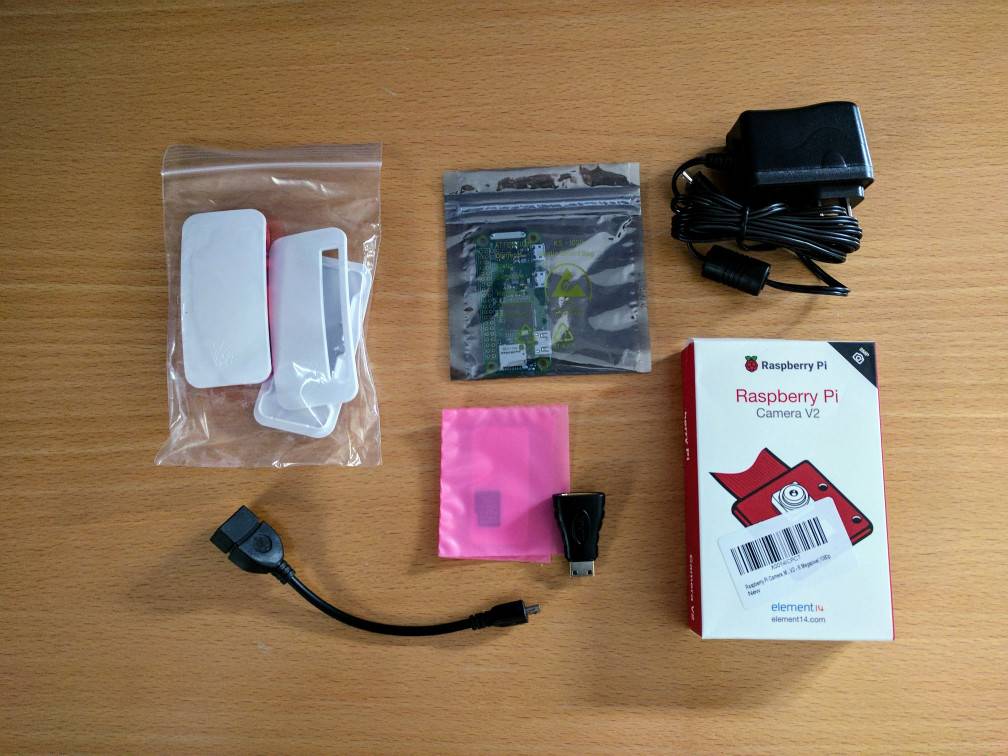
Assembly is straightforward and requires little skill. The MicroSD card has the operating system software, and the unit requires 2w – 3w of power. So little power is used that a USB connection to a PC or laptop is enough to power it. The amount of electricity it uses is very important since it factors into the overall solar needs for the tiny house.

Once everything was assembled and tested, the challenge was to mount the webcam in the tiny house. Using a piece of scrap wood and a small corner brace, the webcam was angled appropriately and powered on.

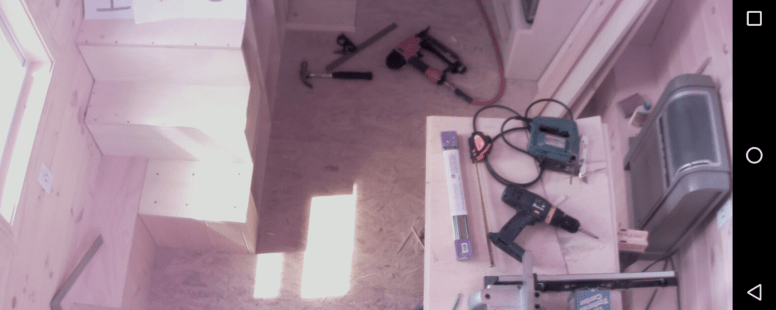
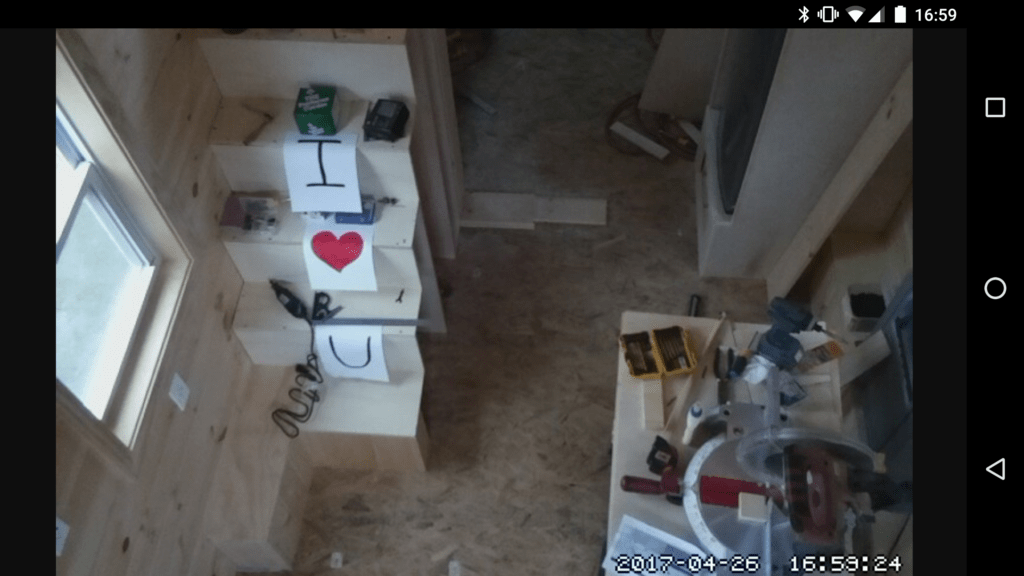
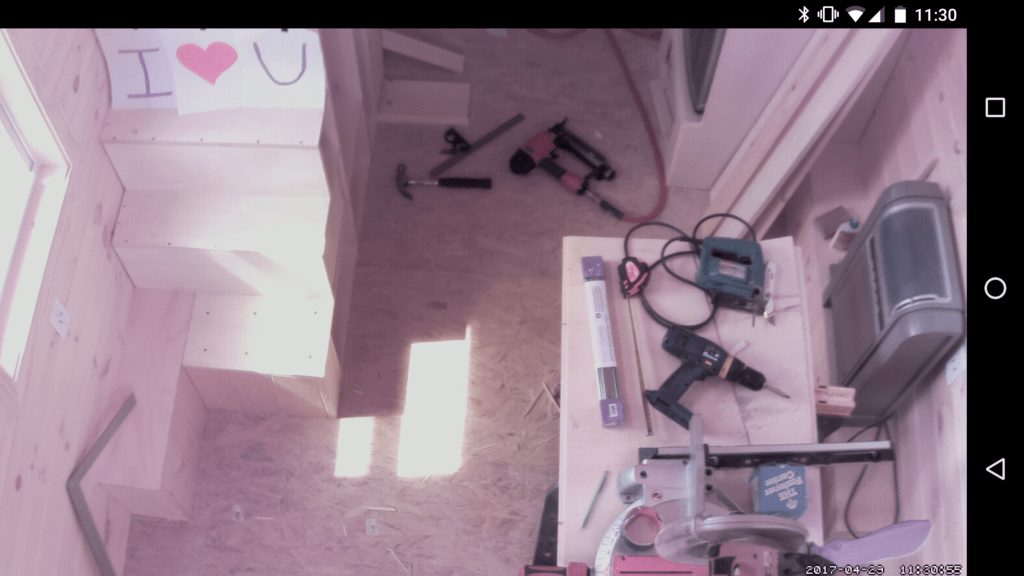
The unit powered up and an image appeared in my web browser. This webcam quality is very good and provides an excellent view of the great room area at various hours during the day.
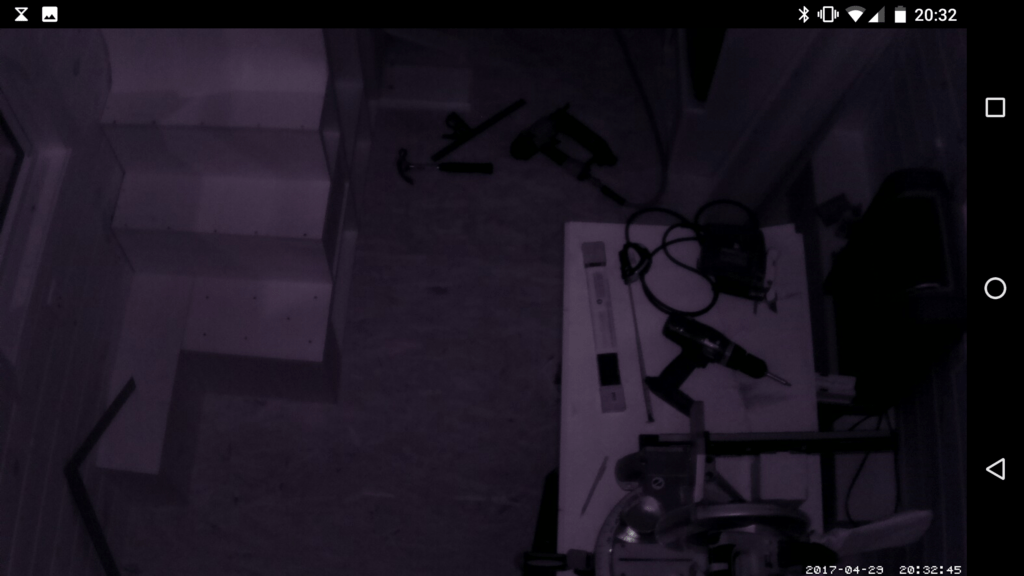
However, there is one important feature this webcam doesn’t have. There is no night vision.
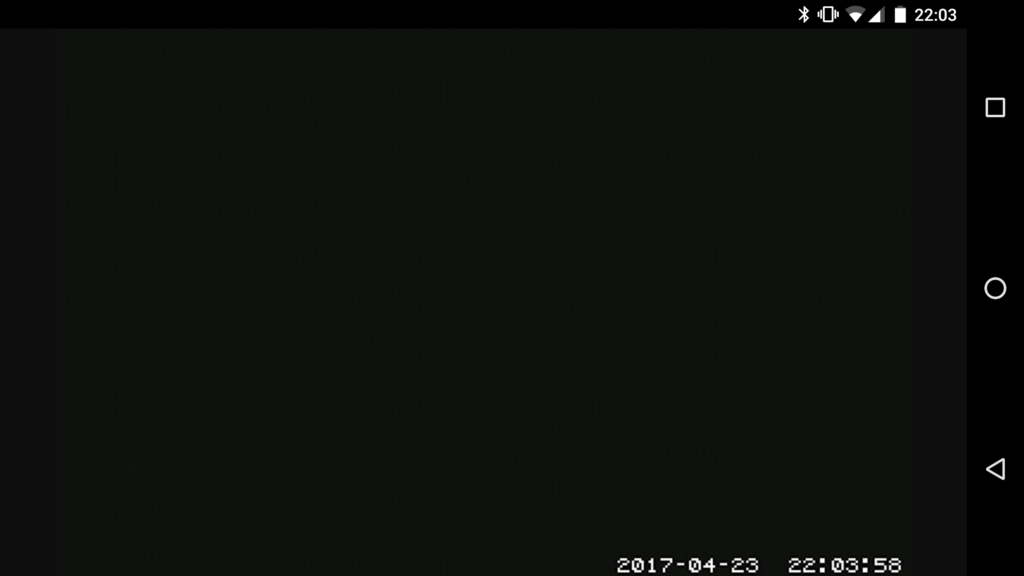
After looking at the various webcams that support night vision, I replaced the existing webcam with a SHCHV Raspberry Pi Zero W Night Vision Camera + 2 Infrared IR LED Light for Raspberry Pi Zero.
Webcam Version 2.0
The new webcam is bigger then the first one. Although not as compact as the first webcam, it stays in place with VELCRO and small elastics. The VELCRO provides a means to attach and remove the webcam without unscrewing it from the wall, and the elastics hold the webcam at the proper angle.
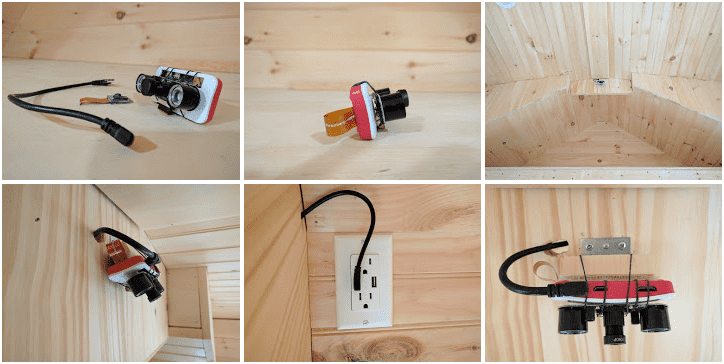

Lastly, the bulky plug has been replaced with a shorter cord that plugs into the USB connection. Now, both outlets are available to use.
At this time, the webcam streams video during the day and throughout the night. However, the quality is not as good as the original webcam. This seems to be a trade-off to have night vision, at least for now.
Software
The Raspberry Pi Zero W comes with an operating system pre-installed on a MicroSD Card. However, building a smart home requires a more intelligent set of software to accomplish the overall goal. This webcam must use as little processing power as possible, because this Raspberry Pi will also be the main sensor that collects and processes metrics from all the other sensors planned for the tiny house.
Installing the Operating System
First, I re-flashed the MicroSD Card with Raspbian Jessie Lite. This installs a minimal operating system without a user interface. Ultimately, users will interact using a web browser from a laptop, tablet, or smart phone. So, a graphical user interface, monitor, keyboard, and mouse aren’t required.
Compiling Motion
This webcam uses motion to stream the video from the Raspberry Pi. Motion is a free Open-Source Software that monitors the video signal from one or more cameras and detect if a significant part of the picture has changed. In short, it detects motion and streams video.
Compiling software from source code can be difficult and frustrating. However, this script helps simplify the compiling process for motion directly on the Raspberry Pi.
#!/bin/bash

cat <<EOF

-------------------------------------
COMPILE MOTION - STREAM CAMERA FOR PI
-------------------------------------

EOF

if [ "$(id -u)" != "0" ]; then
 cat <<EOF
ERROR: This script must be run as root .. Abort!

usage: sudo ./compile_motion.sh

EOF
 exit
fi

apt install \
 autoconf \
 automake \
 pkgconf \
 libtool \
 libjpeg8-dev \
 libzip-dev \
 libavformat-dev \
 libavcodec-dev \
 libavutil-dev \
 libswscale-dev \
 libav-tools \
 libavdevice-dev

mkdir motion-tmp
cd motion-tmp
wget https://github.com/Mr-Dave/motion/archive/master.zip
unzip master.zip
cd motion-master
autoreconf -fiv
./configure
make
make install
modprobe bcm2835-v4l2
After the compile process completes, the next step is to configure the motion.conf file. This file contain all the settings and configurations that the camera uses to display the image. There are several other features that are disabled in this configuration file. However, the motion documentation does a good job explains the available features.
Starting and Stopping the Webcam
Next, a simple script is needed to turn the camera on and off since this Raspberry Pi will not turn it on automatically. This is currently intended, although, one can configure the webcam to start when powering on the Raspberry Pi. However, the script may require a modification if the motion.conf exists in a different directory.
#!/bin/bash

if [ "$(id -u)" != "0" ]; then
 cat <<EOF

ERROR: This script must be run as root .. Abort!

usage: sudo ./camera.sh [start|stop]

EOF
 exit
fi

if [ "$1" == "start" ]; then
 modprobe bcm2835-v4l2
 sleep 1
 ./motion -c ../conf/motion.conf
elif [ "$1" == "stop" ]; then
 kill -9 `pgrep motion`
 sleep 1
 modprobe -rv bcm2835-v4l2
else
 cat <<EOF

usage: sudo ./camera.sh [start|stop]

EOF
fi
Components and Cost
The webcam is the second sensor in the tiny house with several more planned once other areas of the tiny house are complete. However, it is quite easy to put together a webcam if the desire is to do it yourself. For the second version of this webcam, the following components are included:
| Cost | Details |
| 44.59 | Purchases from Amazon.com (1) CanaKit Raspberry Pi Zero W (Wireless) Starter Kit with Official Case |
| 6.99 | Purchases from Amazon.com (1) Micro USB Cable - Rerii Golden Plated 30cm Length USB to Micro-B Male Right Angled Cable, Sync & Charging 5-Pin Micro USB Cable |
| 37.35 | Purchases from Amazon.com (1) SHCHV Raspberry Pi Zero W Night Vision Camera + 2 Infrared IR LED Light for Raspberry Pi Zero |
| 88.93 |
Conclusion
A webcam can add an element of fun and provide a sense of security with features such as detecting motion and recording video while one isn’t home. Putting one together is fairly easy for someone with a little experience in PC components and a do-it-yourself attitude.
Sensors, data, and analytics can be interesting to the casual observer. However, each sensor will play its part and provide feedback to help minimize waste and make someone’s stay more enjoyable.